
Ever have a hard time trying to find a specific inventory item in your warehouse? If you said yes, you should be using the multiple bins feature in Microsoft Dynamics GP.
Think of bins as a shelf or an aisle, so with the combination of Site ID and bins you can walk right to your items. Default bins can be assigned to sites for transactions such as Purchase Receipts, Purchase Returns, Sales Order Fulfillment, Sales Returns, Assembly Receipts, Material Issues, Manufacturing Receipts and Repair Issues.
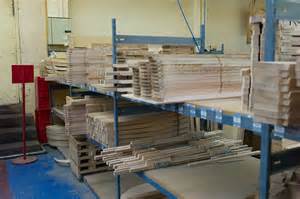
Let’s say you receive an item (from a PO) to your WAREHOUSE site. By default it is placed in a bin called “Receivings”. When your warehouse person moves the item to its proper place in the warehouse, a bin transfer is recorded in GP. Yes, it is an extra step, but how big is your inventory site? How important is it to know exactly where that item is located? How much is your inventory worth?
If you choose to use multiple bins in GP, a bin must be specified for each and every transaction. The default site can be used or you can manually edit the bin in the transaction.
If you already use GP and want to start using bins there are a couple of very important steps that must occur:
- Perform a backup of your database.
- All Sales Order Processing transactions must be posted, deleted or voided.
- Perform a backup of your database.
- Check the Enable Multiple Bins in the Inventory Setup window.
- Perform a backup of your database.
- Run Check Links for all Inventory tables.
- Perform a backup of your database.
- Run Reconcile for Inventory Items
- Perform a backup of your database.
- Verify there is a Next Document Number in the Inventory Setup window.
- Enter bins for your sites.
- Specify default bins for your sites.
- Oh, and Perform a backup of your database.
Watch the video below for multiple bins in action!
